Slipping in the July rain
- Brian Donnelly

- Jul 25, 2020
- 2 min read
Quick Update 25 July
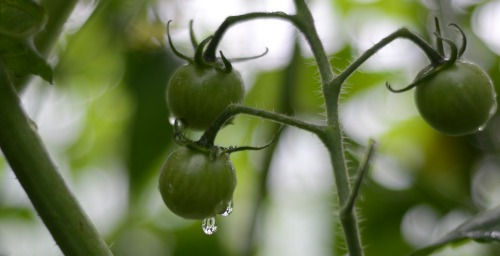
It is a damp Saturday morning, humid and the thermometer in the tomato greenhouse is reading 21 degrees. Outside it is dull, light grey skies and there are scattered showers and quite a bit cooler. The July weather has not been brilliant. We are debating going for a drive somewhere, but there does not seem to be much enthusiasm. We are in and out of the garden getting bits done, clearing some overdone lettuce and some weeds out of one raised bed/box, we potted on some lemongrass into a bigger pot. The tomato plants were inspected and tidied, still waiting for some of the fruits to ripen. There are always things to be done in a garden.
Later, while walking the dog I noticed we were going a little further than usual. Next thing I noticed a scissors and a bag being produced… Ah! Some roses were spotted for ‘slipping’, I notice this happening a bit lately when we are out and about.
Growing slips is another way to propagate new plants. Today for you readers, I have photographed the process of planting a slip. I am not the expert, but it seems a healthy plant must be chosen, by my looking at it the slip must be strong, not woody and new growth. I have watched Monty on TV doing this and a sharp knife is important to cut the slip at a slight angle immediately under a leaf node (where a leaf will emerge)

I was dispatched for sand and peat moss 1/3 sand 2/3 Peat. We use a powder rooting compound. My googling of this material informs me that it contains Auxins which are a powerful growth hormone produced naturally by plants. They are found in shoot and root tips and promote cell division, stem and root growth.
The process is, to take the cutting and place in water for a short while, dip in the rooting powder and place it in a pot which contains a mixture of sand and peat moss compost. We placed about five cuttings in a small pot, place all to the side of the pot. They are placed to the side because if they ‘take’, which is, if they successfully produce roots, they can be removed without being entangled in each other and potted on. After this, the whole pot is watered, placed in a plastic bag tied at the top and placed in a warm spot out of direct sunlight. I am sure the preparation of the cutting is important so I will link here to some more expert than I.


Here is an image of a successful ‘rooting’, the original slip is marked with the green arrow on the left and the new growth is on the right. Another indicator is the small root beginning to protrude out of the bottom of the pot. All good.


I also present a picture of one (of two) cucamelons that are beginning to expand. We are finding these slow, but I am confident they will come to fruition.

Web links used...


Comments